In the digital age, our smartphones are more than just communication devices—they are archives of our personal and professional lives. Photos, contacts, emails, and important documents are all stored on these devices, making them indispensable. When your phone needs a repair, it's crucial to back up your data to prevent any loss. Here’s a comprehensive guide on how to back up your phone before taking it in for repair.
Before delving into the how-to, it's important to understand why backing up your phone is essential. During repairs, there is always a risk of data loss. Whether it's due to a factory reset, hardware replacement, or accidental damage during the repair process, backing up ensures your data remains intact and accessible. Moreover, a backup allows for easy restoration of your phone to its previous state, minimizing downtime and inconvenience.
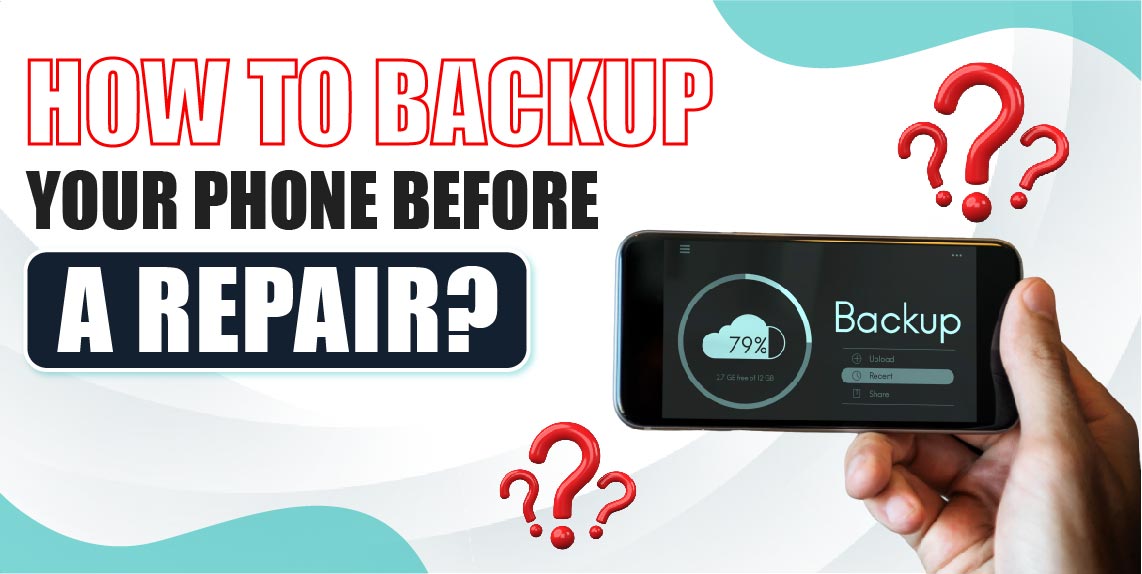
There are several methods to backup your phone, and the best approach depends on whether you are using an iPhone or an Android device. Let’s explore the options for both platforms.
1. iCloud Backup
iCloud is Apple's cloud storage service that allows you to back up your phone wirelessly.
Connect to Wi-Fi: Ensure your iPhone is connected to a Wi-Fi network.
Open Settings: Go to Settings, tap on your name at the top, then select iCloud.
iCloud Backup: Scroll down and tap on iCloud Backup. Make sure the iCloud Backup switch is turned on.
Back Up Now: Tap on Back Up Now. Ensure your device stays connected to Wi-Fi until the process completes.
2. iTunes/Finder Backup
If you prefer a local backup, you can use iTunes (on Windows or older macOS versions) or Finder (on macOS Catalina and later).
Connect to Computer: Connect your iPhone to your computer using a USB cable.
Open iTunes/Finder: Open iTunes on Windows or Finder on macOS Catalina and later.
Select Device: Select your iPhone when it appears.
Back Up: In iTunes, click Back Up Now. In Finder, click General, then Back Up Now.
Encrypt Backup: For added security, select Encrypt local backup and create a password.
1. Google Backup
Google provides an easy way to back up your Android device to Google Drive.
Open Settings: Go to Settings, then select System or System & Updates.
Backup: Tap on Backup, then ensure the Backup to Google Drive switch is turned on.
Account: Select the Google account you want to back up your data to.
Back Up Now: Tap Back Up Now to start the process.
2. Local Backup
For a local backup, you can use your phone’s built-in backup features or third-party apps.
Built-In Backup: Some manufacturers like Samsung provide their own backup solutions. For instance, Samsung users can go to Settings > Accounts and Backup > Backup and Restore > Back Up Data.
Third-Party Apps: Apps like Helium, Titanium Backup (for rooted devices), and Super Backup can help you create local backups.
Sometimes, you might want to back up specific types of data separately. Here’s how to back up contacts, photos, and apps.
1. Contacts
iPhone: Contacts are usually synced with iCloud. You can also export contacts via the Contacts app on your Mac or use third-party apps.
Android: Contacts are typically synced with your Google account. You can also export contacts to a .vcf file via the Contacts app.
2. Photos and Videos
iPhone: Use iCloud Photos by going to Settings > Photos and turning on iCloud Photos. Alternatively, transfer photos to your computer via USB.
Android: Use Google Photos by opening the app and enabling Backup & Sync. You can also transfer photos to your computer via USB.
3. Apps and App Data
iPhone: App data is usually backed up with iCloud or iTunes backups. Some apps also offer their own backup solutions.
Android: Google Backup typically includes app data. For more control, use third-party apps like Helium.
1. iPhone
iCloud: During setup, choose Restore from iCloud Backup and sign in to your iCloud account. Select the backup you created before the repair.
iTunes/Finder: Connect your iPhone to your computer. Open iTunes/Finder, select your device, and click Restore Backup. Choose the correct backup and enter the password if it’s encrypted.
2. Android
Google Drive: During setup, sign in to your Google account and choose Restore from Google Backup. Follow the prompts to restore your data.
Local Backup: Use the built-in restore feature or the third-party app you used for the backup.
Tips for a Smooth Backup Process
Ensure Sufficient Storage: Make sure you have enough storage space in iCloud, Google Drive, or your computer for the backup.
Regular Backups: Regularly backup your phone to ensure your data is always up-to-date.
Verify Backups: After backing up, verify that the backup was successful and that all important data is included.
Backing up your phone before a repair is a crucial step to protect your data and ensure a seamless restoration process. Whether you’re using an iPhone or an Android device, multiple backup options are available to suit your needs. By following the steps outlined above, you can confidently hand over your phone for repair, knowing your data is safe and secure.